Skip to content
Learn Colour Grading
Melbourne, Australia
Two days of one-on-one DaVinci Resolve training with a veteran film colourist.
Individual Training
Your instructor tailors his teaching style, pace, and content to match your learning preferences and abilities.
We work through tutorials together and can also grade a personal project.
Why would you join an online class of 200 people, when you can receive individual training for the same price?
Experience
Your instructor has worked as a film colourist in Sydney and Mumbai and graded hundreds of TV commericals.
He's coloured millions of feet of 35mm film and knows the secret ingredients for dynamic cinematic imagery.
He's been a DaVinci user since 1995 and running Resolve courses for 14 years.
Incredible Value
- 14 hours of one-on-one training
- 200GB of high quality demo footage
- FM100 colour vision test
- Custom film emulation node tree
- Grade your current project
- Continued support and grades *
* Struggling with a job? Send the clip and receive free sample grades.
Learn the Essence
of Colour Grading
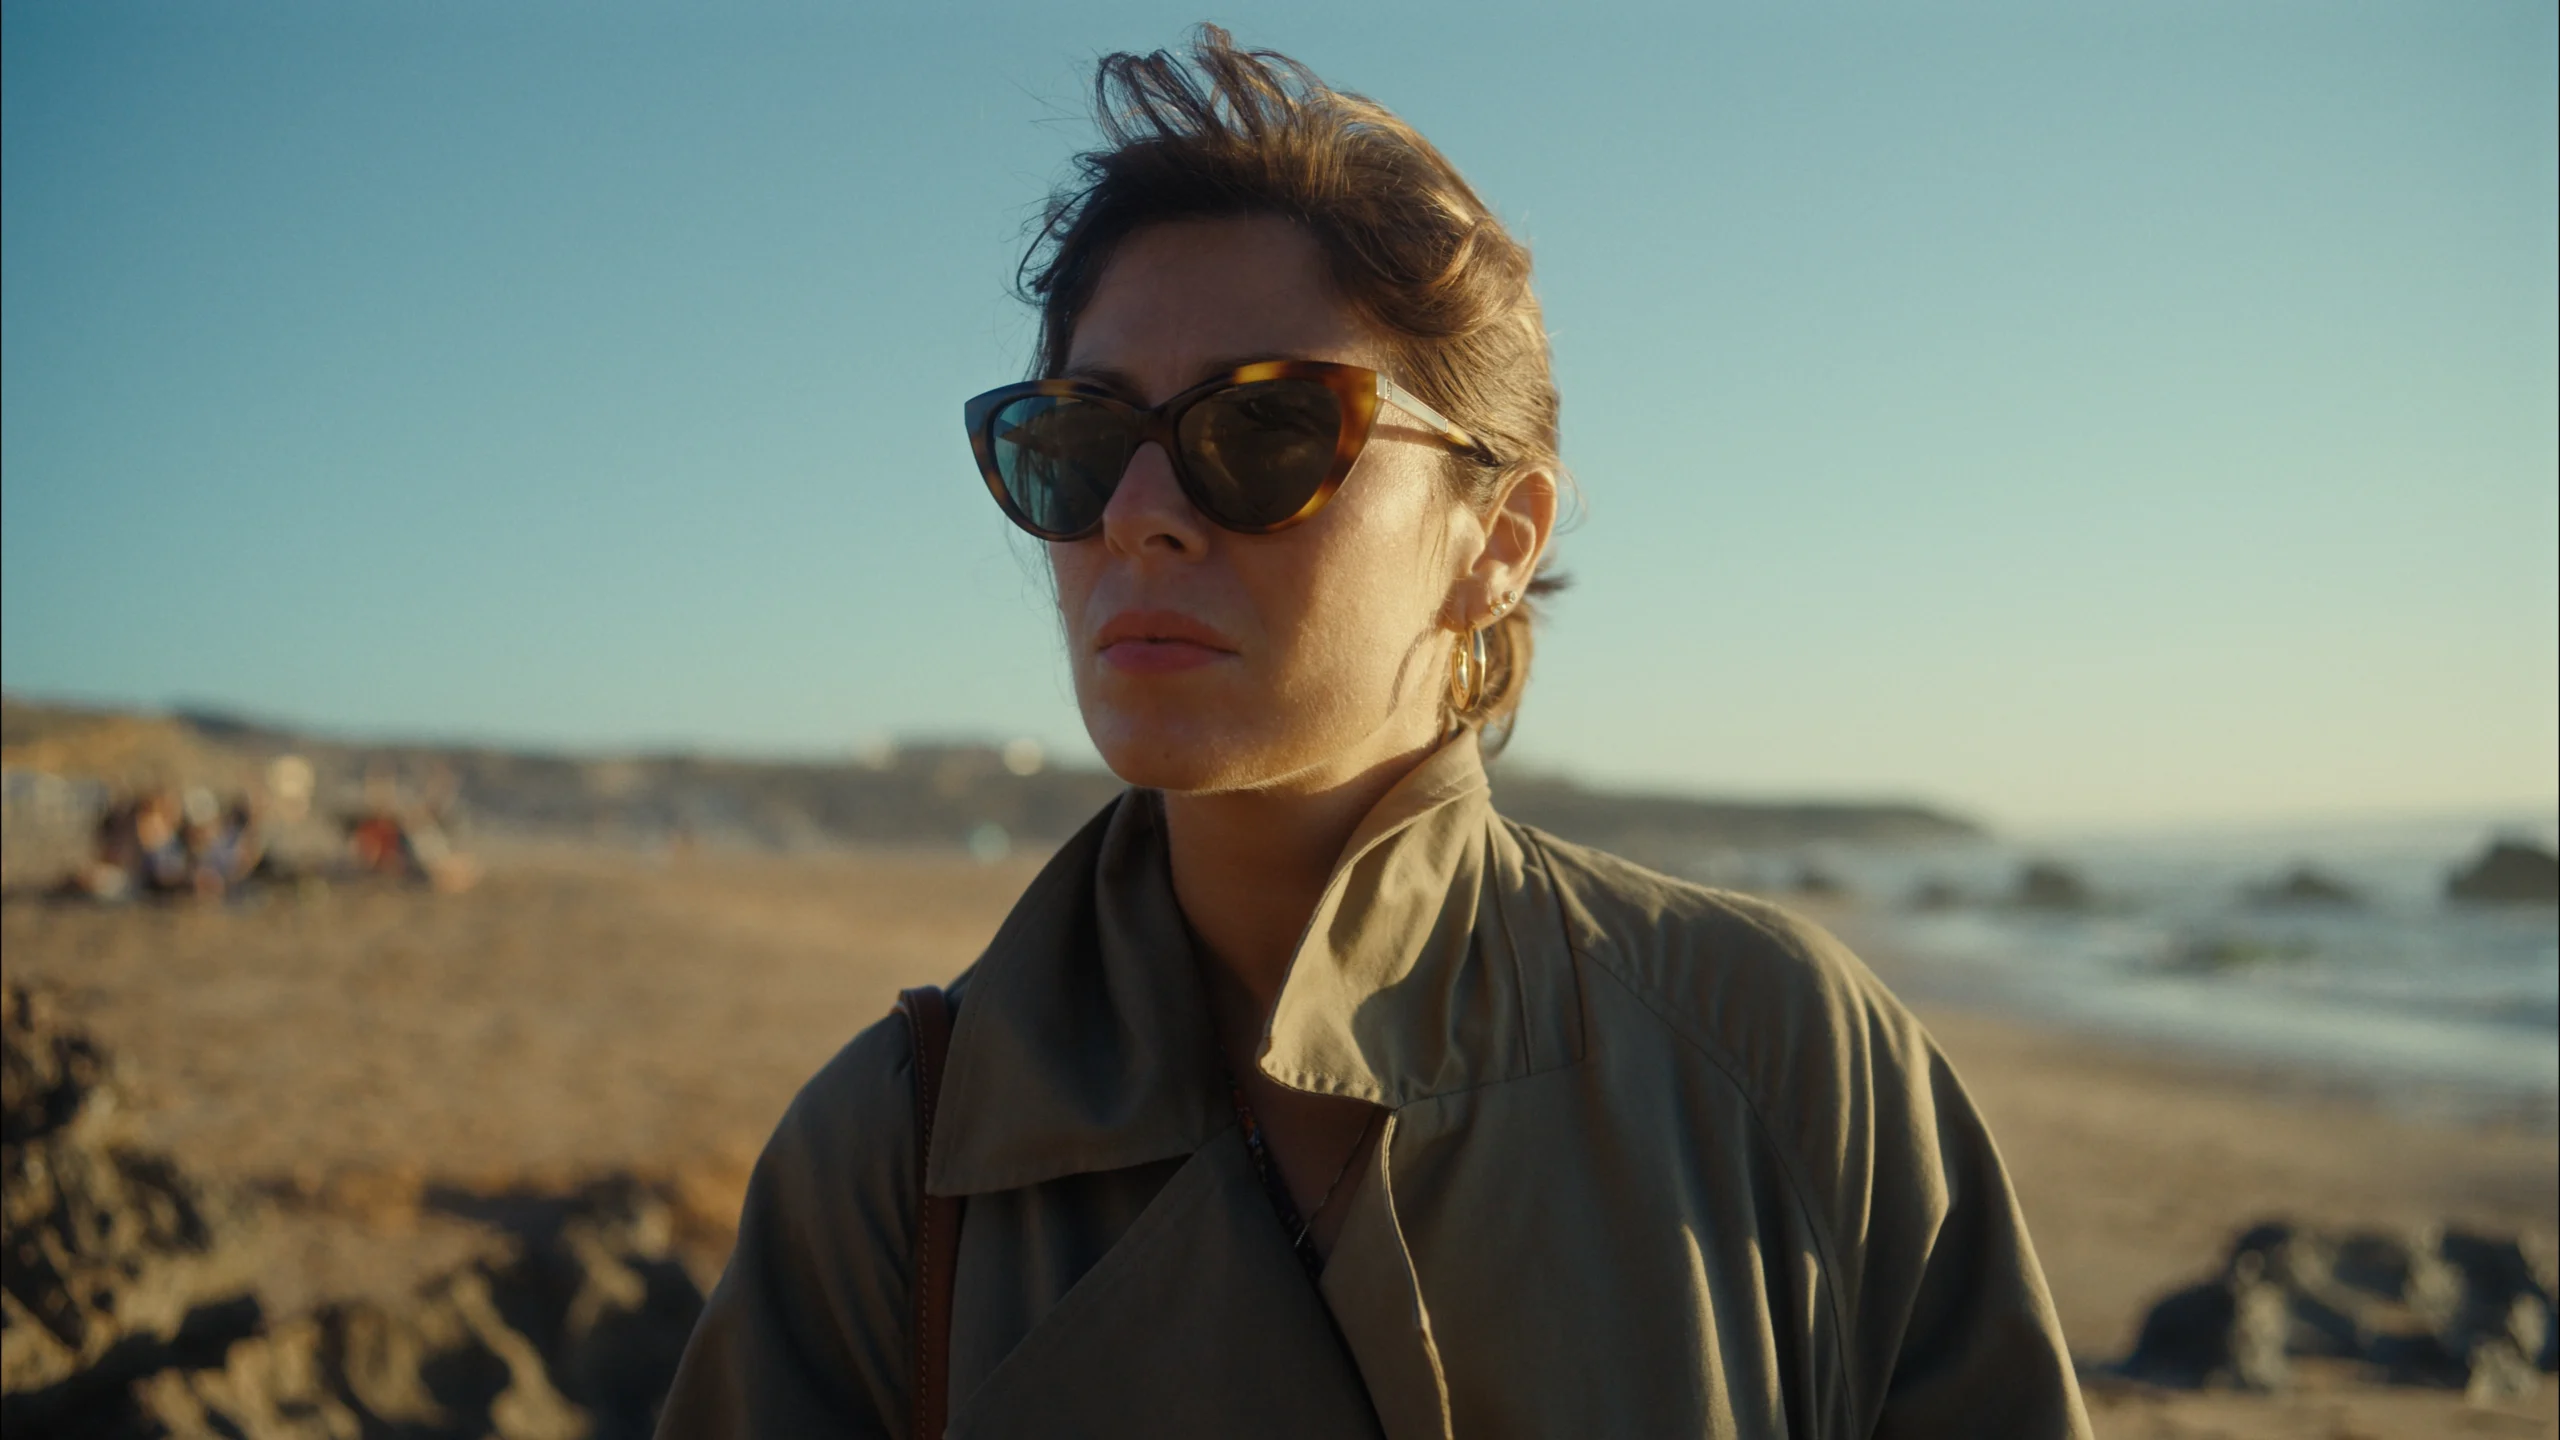
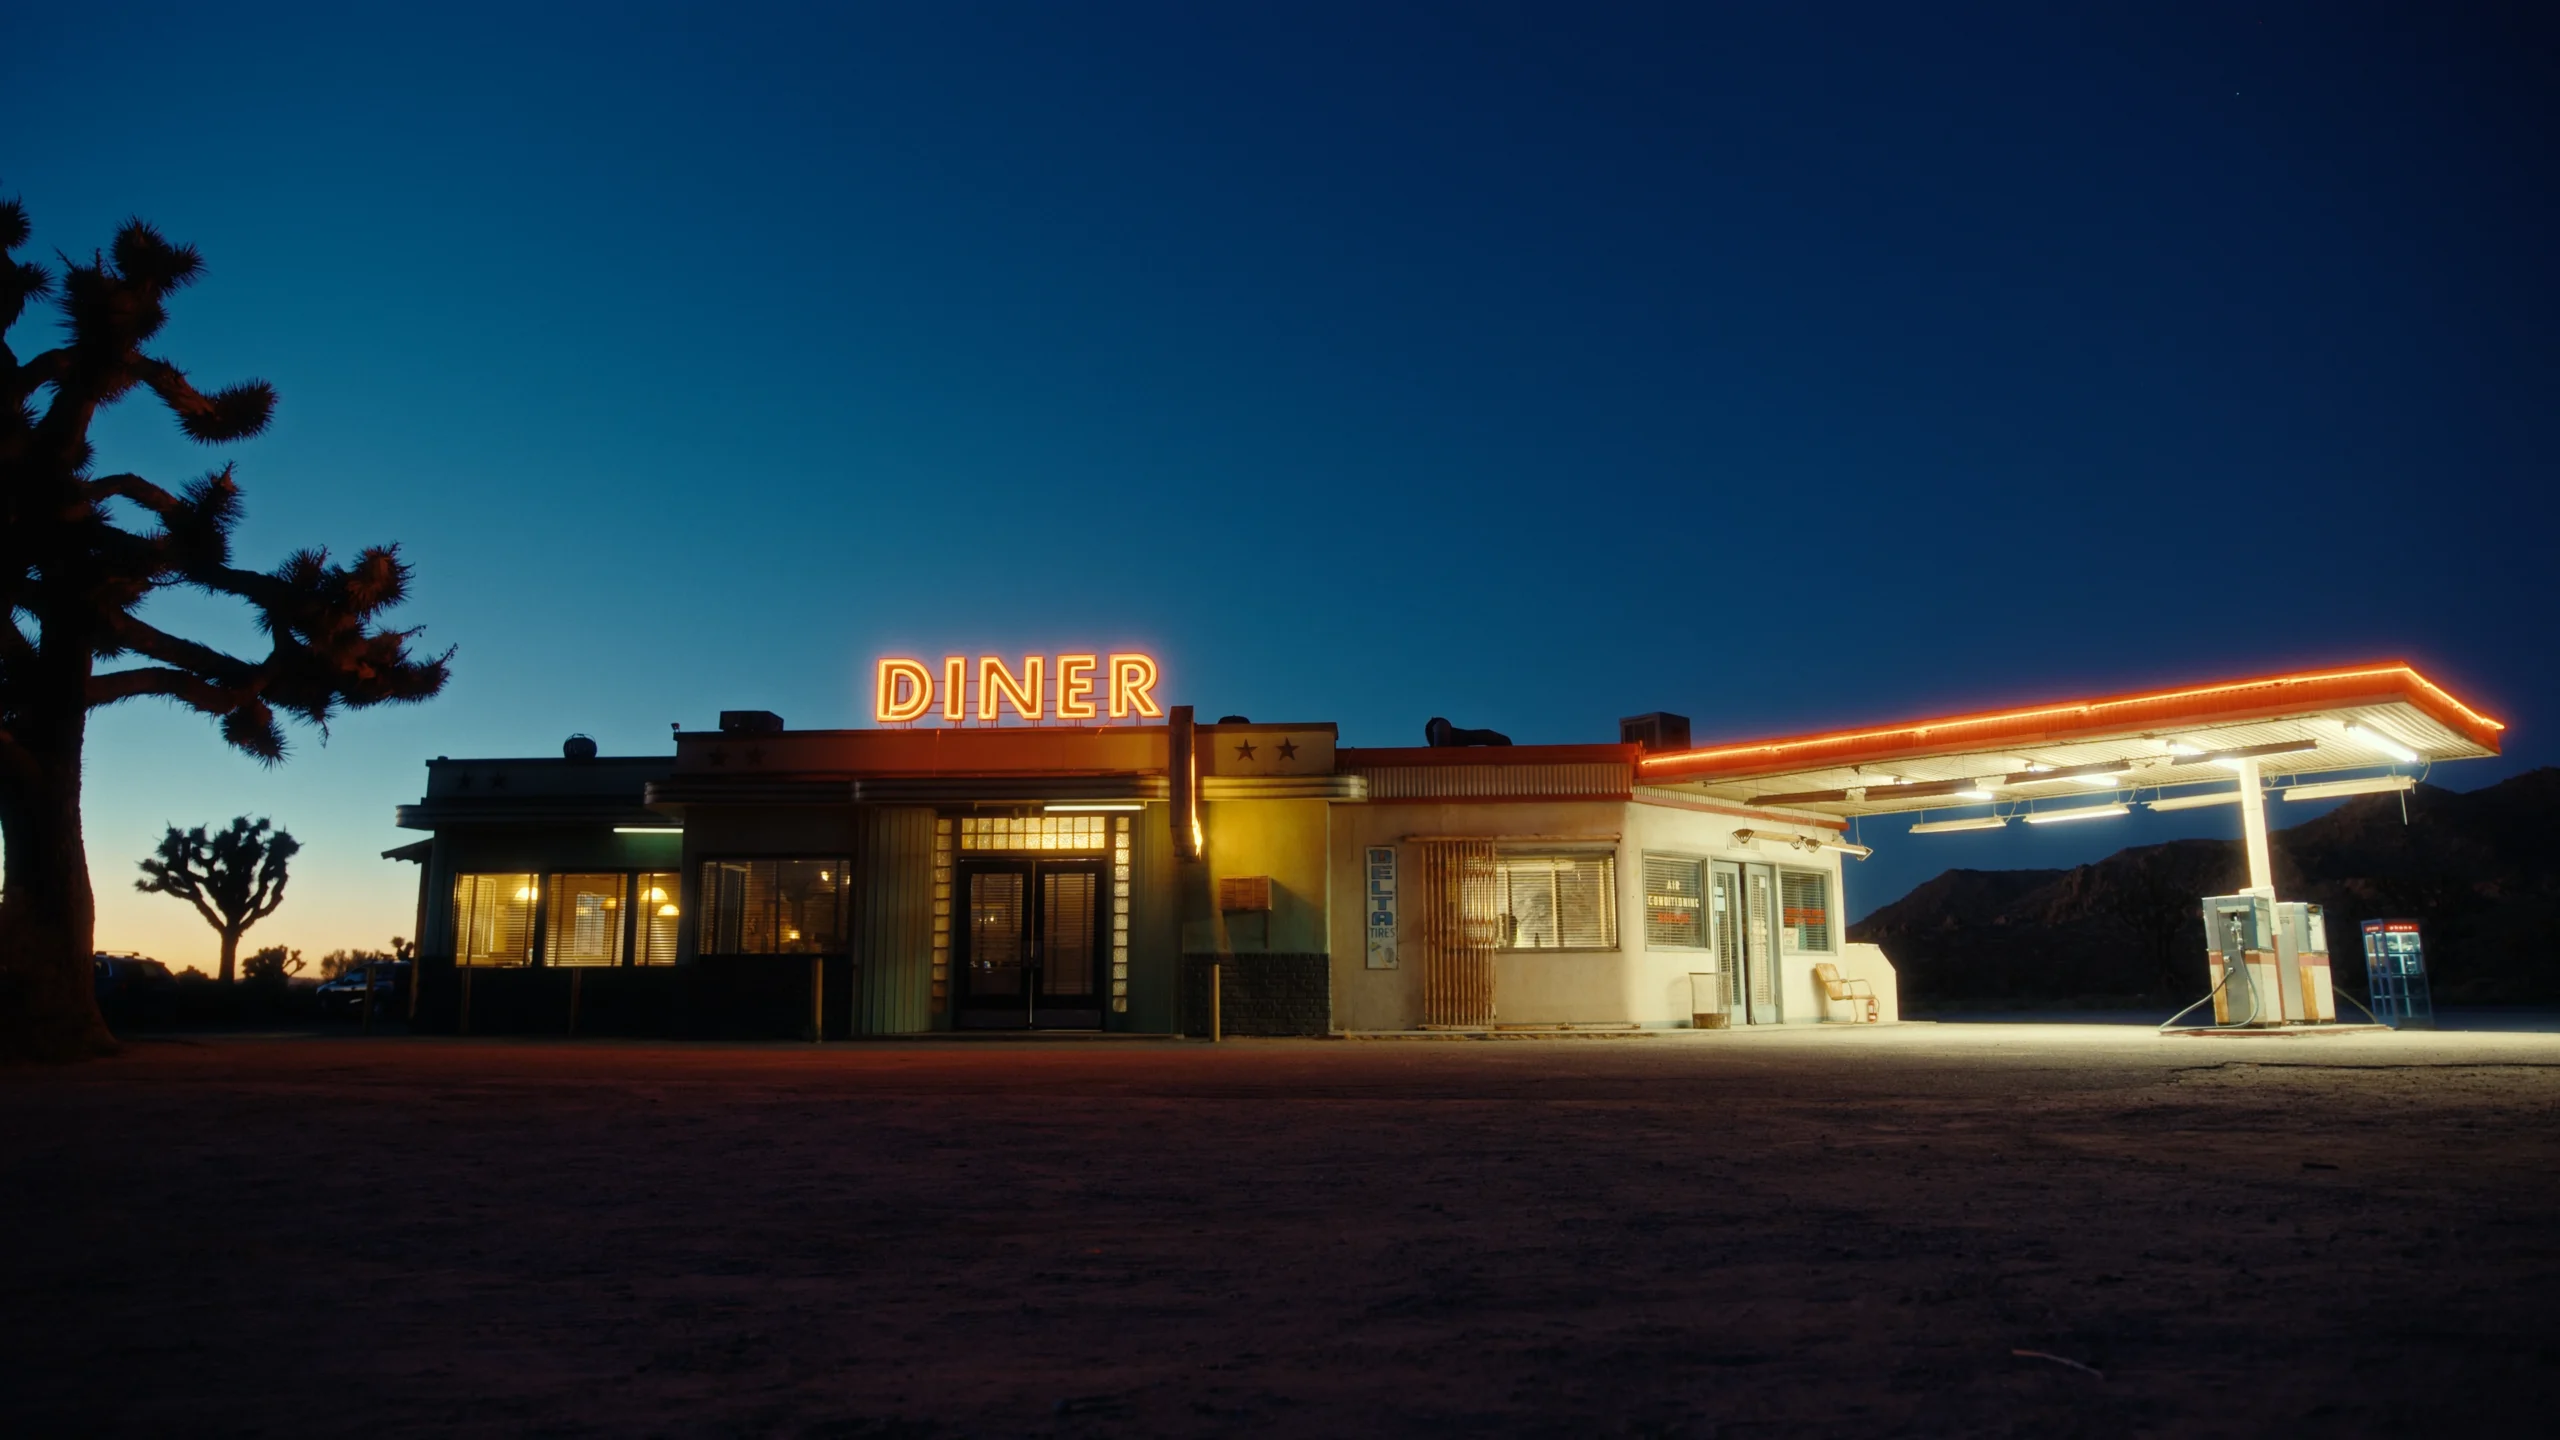
Cut through the Youtube nonsense and stop falling down rabbit holes. Feel confident that you’re getting the most from your image. Learn to recreate looks from your favourite movies and shows.
Take Control of Your Image
Learning what buttons to push is the easy part and you can read the manual for that. But having a veteran film colourist by your side as you learn to "see colour", makes this course unique.